Learn how to run JioSphere Browser on a Raspberry Pi for low-cost digital signage. Follow my step-by-step guide to create an affordable and efficient digital display solution.
Digital signage is key for businesses in India. I found a smart, budget-friendly way. It uses JioSphere Browser and Raspberry Pi for a cheap digital signage system.
This guide will show you how to set up a digital signage system with JioSphere Browser on Raspberry Pi. It’s a cheap option compared to expensive commercial systems. It’s perfect for small businesses and groups.
Key Takeaways
- Learn to create a cost-effective digital signage solution
- Understand Raspberry Pi and JioSphere Browser integration
- Explore budget-friendly hardware options
- Discover step-by-step installation techniques
- Master configuration for optimal performance
With Raspberry Pi and JioSphere Browser, you can turn any screen into smart digital signage. I’ll share a detailed setup guide. This way, you can get a top-notch display system without spending a lot.
If you run a small business, teach, or work in digital communication, this guide is for you. It will help you set up a digital signage strategy with affordable, cutting-edge tech.
Understanding JioSphere Browser Fundamentals
I’ve looked into many browser solutions, and JioSphere is unique. It’s made for offline content and works great with Raspberry Pi for digital signage.
JioSphere has special features for offline browsing. Let’s dive into what makes it stand out.
Key Features and Capabilities
- Offline content rendering without internet connectivity
- Lightweight design optimized for low-resource environments
- Simple user interface for easy navigation
- Efficient memory management
System Requirements for Installation
Knowing the system needs is key for JioSphere Browser on Raspberry Pi. Here’s what you need:
| Component | Minimum Specification | Recommended |
| Raspberry Pi Model | Raspberry Pi 3B+ | Raspberry Pi 4 (4GB/8GB RAM) |
| Storage | 16GB microSD | 32GB microSD or SSD |
| RAM | 1GB | 4GB |
Browser Compatibility with Raspberry Pi
JioSphere Browser works well with Raspberry Pi. It’s designed for various models, with the best performance on newer ones.
“JioSphere Browser transforms Raspberry Pi into a powerful digital signage platform with minimal resource requirements.”
Choosing the right Raspberry Pi model is crucial. Newer models offer better performance and a smoother JioSphere Browser experience.
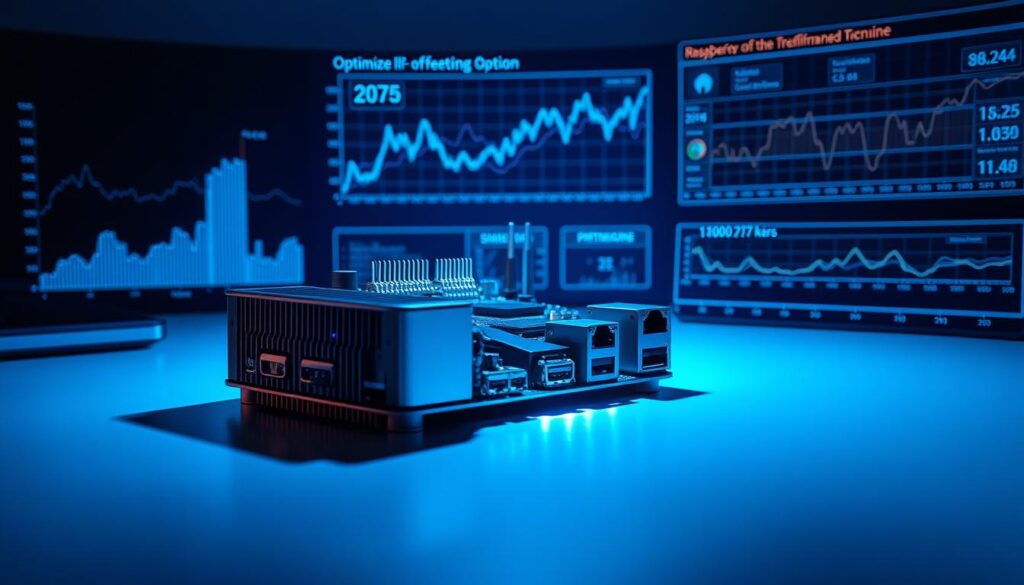
Required Hardware Components for Setup
Building a digital signage system with Raspberry Pi requires the right parts. I’ll show you what you need for a strong and efficient system.
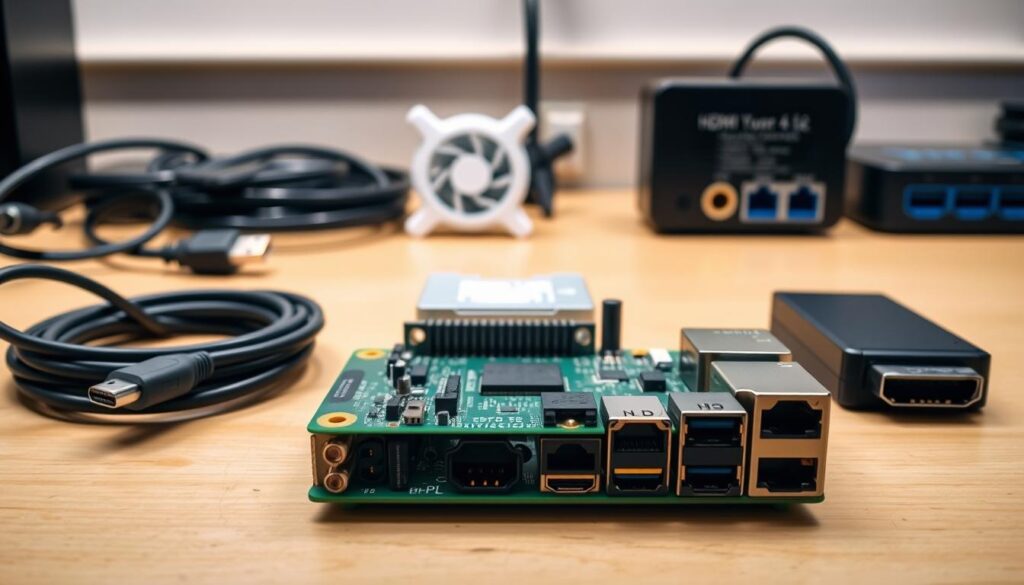
- Raspberry Pi 4 Model B (4GB or 8GB RAM recommended)
- High-quality power supply (5V, 3A USB-C)
- MicroSD card (minimum 16GB, Class 10 recommended)
- HDMI cable for display connection
- Protective case with cooling options
Adding extra accessories can make your setup better:
| Component | Purpose | Recommended Specification |
| Heatsink | Temperature management | Aluminum passive cooling kit |
| Display Adapter | Flexible display connections | HDMI to VGA/DVI converter |
| External Storage | Expanded content storage | USB 3.0 SSD, 128GB minimum |
Investing in quality Raspberry Pi hardware is key. It ensures your digital signage works well. The right parts will make your display setup solid.
Preparing Your Raspberry Pi for JioSphere Installation
Getting your Raspberry Pi ready for digital signage is key. I’ll show you how to get your device ready for JioSphere Browser. We’ll cover Raspberry Pi OS setup, network configuration, and storage management.
Before we start, make sure your Raspberry Pi is running smoothly. The Raspberry Pi OS is the base for your digital signage. It makes sure JioSphere Browser runs well.
Operating System Configuration
Here’s how to get your Raspberry Pi OS ready:
- Update the operating system to the latest version
- Expand filesystem to maximize available storage
- Configure basic system settings
- Enable necessary interfaces for digital signage
Network Setup Requirements
Network setup is vital for digital signage. You should:
- Choose between wired or wireless network connection
- Configure static IP address for consistent connectivity
- Test network stability and speed
- Ensure firewall settings allow browser access
“A well-configured network is the backbone of successful digital signage deployment.”
Storage Optimization Tips
Optimizing storage is important for smooth content management. Here are some tips:
- Use high-speed SD card or USB storage
- Clear unnecessary files and applications
- Implement efficient content caching mechanisms
- Monitor storage usage regularly
Proper preparation sets the stage for a seamless JioSphere Browser installation and digital signage experience.
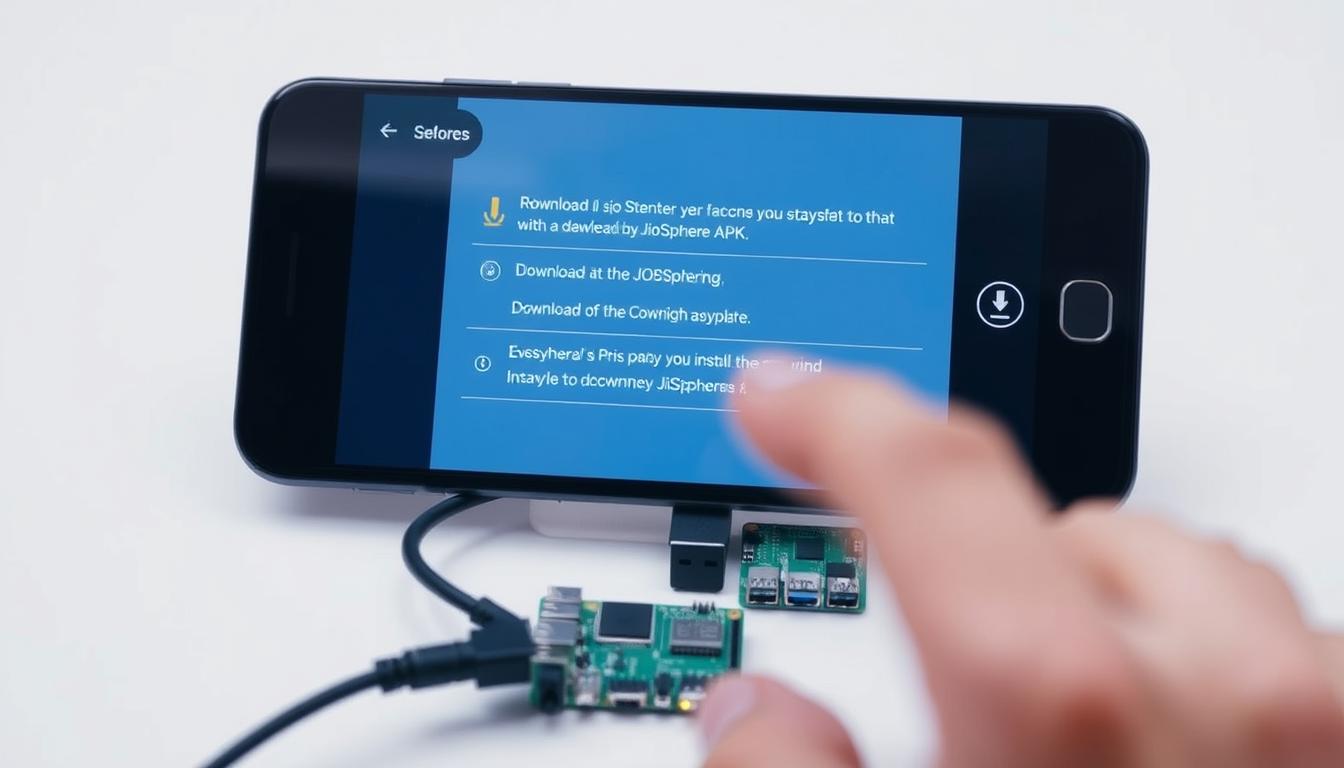
Downloading and Installing JioSphere Browser
To get JioSphere APK on your Raspberry Pi, you need to prepare well and know how to emulate Android. I’ll show you how to download and install the JioSphere Browser step by step.

Before you start downloading the JioSphere Browser, check a few important things:
- Raspberry Pi with a Linux-based OS
- At least 2GB RAM
- A stable internet connection
- An Android emulation setup like ExaGear or Box86
The steps to install the JioSphere Browser are:
- Get the JioSphere Browser from a trusted source
- Get your Android emulation ready
- Move the APK to your Raspberry Pi
- Set up the right permissions for installation
“Successful Android emulation requires precision and the right tools.” – Tech Experts
When downloading the JioSphere APK, use only official sources for safety. Emulating Android can be tricky, so be patient and follow the instructions closely.
Pro Tip: Always check the APK’s authenticity before installing to avoid security issues.
Remember, installing the JioSphere APK might need extra software tweaks. Depending on your Raspberry Pi model and setup, you might need to adjust some system settings for smooth Android emulation.
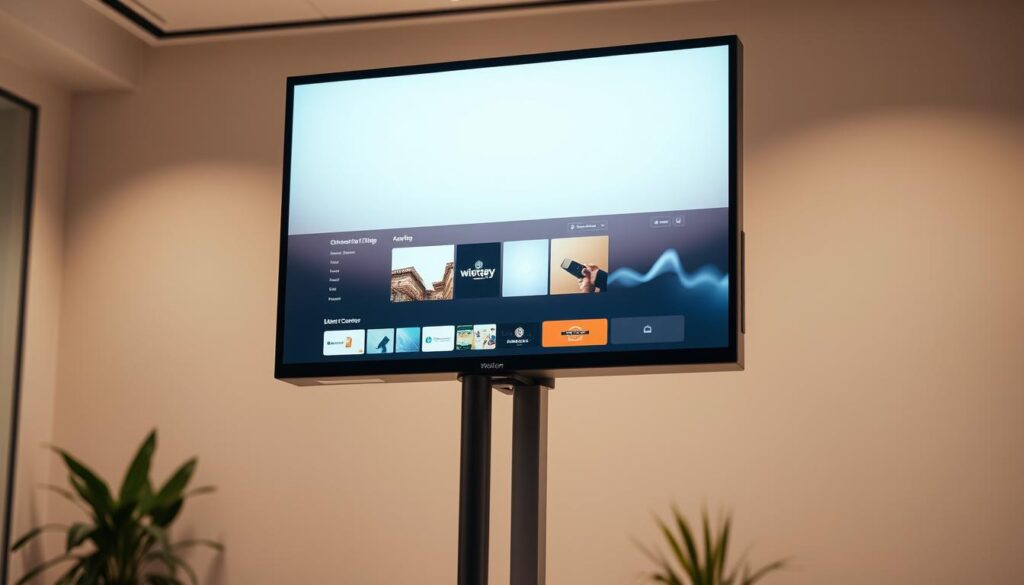
Configuring JioSphere Browser for Digital Signage Use
To set up the JioSphere Browser for digital signage, you need to follow some key steps. This will make your Raspberry Pi a strong tool for digital signage.
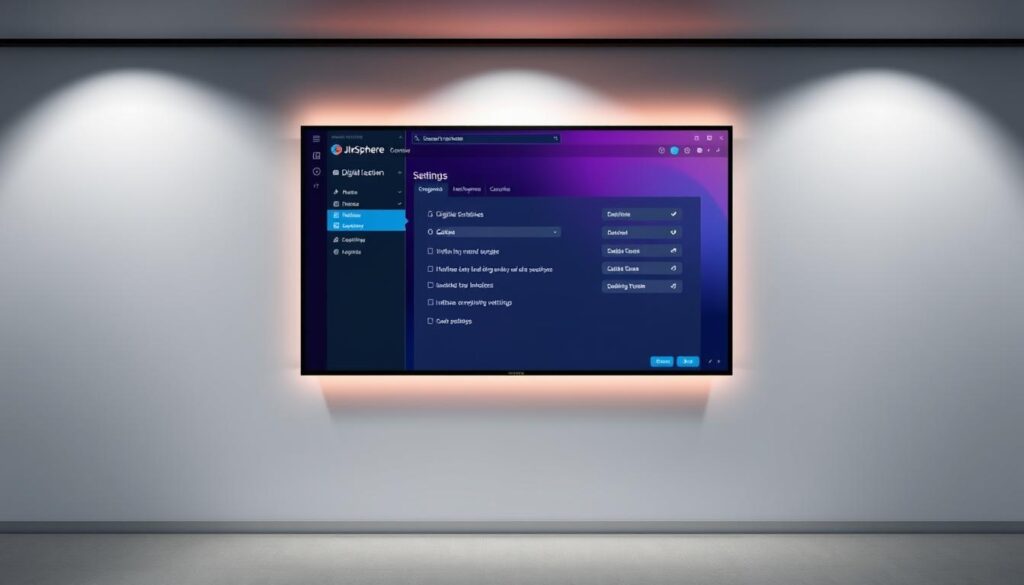
The JioSphere setup involves important parts for a great digital display system. Let’s look at the main steps to set up your digital signage.
Streamlining Display Settings Optimization
Optimizing display settings is key for good digital signage. Here are the main settings to focus on:
- Screen resolution adjustment
- Aspect ratio configuration
- Color calibration
- Brightness and contrast settings
Content Management Strategies
Good content management is key for digital signage success. Here’s how to organize your content well:
| Content Management Feature | Key Benefits |
| Media Playlist Creation | Seamless content rotation |
| Scheduling Options | Time-based content displays |
| Remote Content Updates | Flexible management capabilities |
To get the most from your JioSphere browser, focus on content formats and resolution. Also, make sure media types play smoothly. Good setup leads to a professional and engaging digital signage experience.
Advanced Configuration Tips
- Verify network connectivity
- Test content playback
- Optimize cache settings
- Configure auto-refresh mechanisms
By using these JioSphere setup tips, you’ll have a solid digital signage solution. It will show crisp, dynamic content with little upkeep.
Configuring Digital Signage Display Settings
Setting up the perfect display for your digital signage is key. I’ll guide you through the essential steps. We’ll use JioSphere Browser on Raspberry Pi to optimize your visual presentation.
Display resolution is crucial for stunning visuals. Choose a resolution that fits your screen’s capabilities. Each display has its own needs, so understand your hardware well.
- Analyze your screen’s native resolution
- Select optimal display settings
- Test multiple configuration options
Screen orientation is also vital. You might need to switch between portrait and landscape modes. Raspberry Pi’s settings are flexible and easy to adjust.
Pro tip: Always verify your screen’s physical mounting before finalizing orientation settings.
Color calibration makes your content pop. Use built-in color management tools for the best look.
| Display Parameter | Recommended Setting |
| Resolution | 1920×1080 or native screen resolution |
| Orientation | Landscape/Portrait based on content |
| Color Depth | 24-bit True Color |
Every digital signage project is unique. Try different settings to find what works best for you.
Setting Up Automatic Start on Boot
To make your digital signage with JioSphere Browser smooth, you need a solid auto-start setup. Your Raspberry Pi must have reliable boot scripts. These scripts should start the browser automatically, so your display works without you needing to do anything.
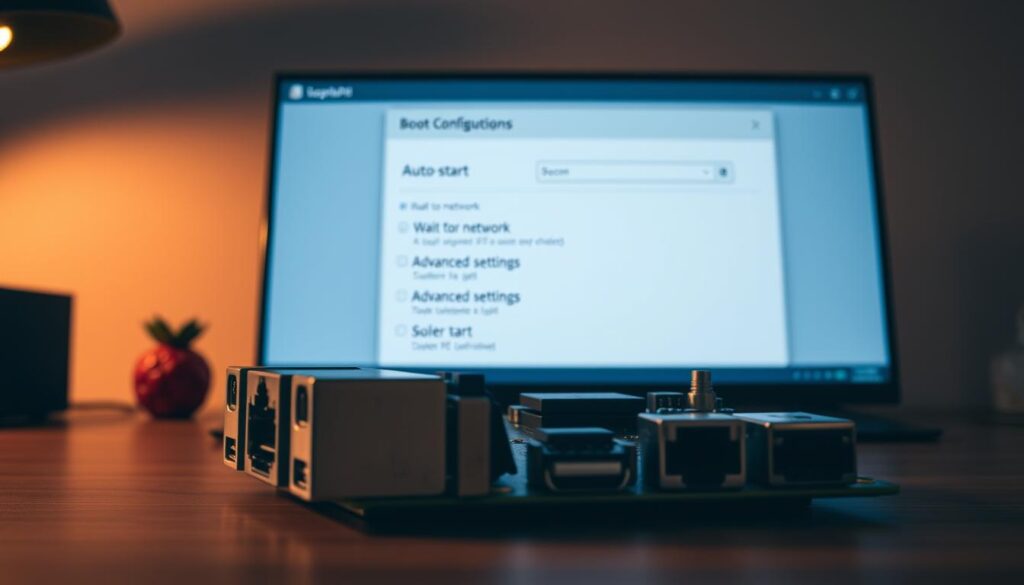
Setting up auto-start is a few key steps away from making your Raspberry Pi a hassle-free digital signage solution. I’ll show you how to make boot scripts that work well.
Creating Robust Boot Scripts
Creating good boot scripts takes some work. Here’s what you need to do:
- Get into the Raspberry Pi’s rc.local file
- Add commands for starting JioSphere Browser
- Make sure the script can run on its own
- Test the script well
Testing Auto-start Configuration
It’s important to check if your startup works right. Run a few tests to make sure it does:
- Do a cold boot test
- See if the browser starts on time
- Make sure the content shows up
- Watch how the system uses resources
“Reliable boot scripts are the backbone of a successful digital signage deployment.” – Digital Signage Expert
Resolving Common Startup Issues
If you run into startup problems, use these tips to fix them. Finding and fixing issues early helps your digital signage run smoothly.
- Look at system logs for errors
- Make sure the network is working
- Check if the script can run
- Keep your system and browser up to date
By following these steps for auto-start, you’ll have a digital signage system that starts up perfectly every time your Raspberry Pi boots.
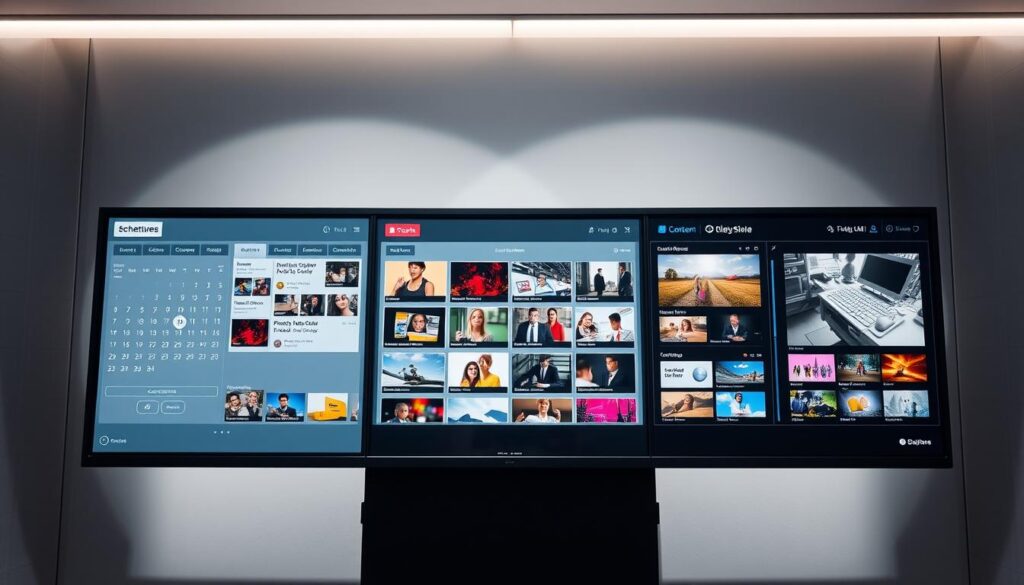
Content Management Strategies
Managing digital signage content well can turn your Raspberry Pi display into a strong communication tool. I’ll share important strategies for making, organizing, and scheduling media. This will keep your audience interested.
Digital signage content needs a careful approach to media management. I suggest making a detailed content strategy. It should cover several key points:
- Content variety to keep viewers interested
- Consistent visual branding
- Dynamic content scheduling
- Regular performance checks
When planning your content schedule, remember these key methods:
- Make content playlists with changing materials
- Use time-based triggers for automatic updates
- Include seasonal or event-specific content
| Content Type | Recommended Duration | Engagement Potential |
| Static Images | 5-10 seconds | Low to Medium |
| Video Clips | 15-30 seconds | High |
| Web-based Content | 10-20 seconds | Medium to High |
I recommend using JioSphere Browser’s media management tools to make scheduling easier. Try different content formats to see what your audience likes best.
Pro tip: Always have a backup content playlist ready. This ensures your display keeps running even when the network goes down.
Optimizing Performance for 24/7 Operation
Running a digital signage system on a Raspberry Pi needs careful performance optimization. This ensures it works well 24/7. Strategic resource management is key for a smooth display environment.
For a continuous digital signage setup, several strategies boost system performance:
Memory Management Tips
Efficient memory management prevents slowdowns during long operations. Here are some tips:
- Limit background apps to free up RAM
- Use lightweight browser setups
- Clear memory cache with scripts
- Check memory with Raspberry Pi tools
CPU Usage Optimization
Keeping CPU load low ensures smooth digital signage. My methods include:
- Adjusting processor frequency
- Disabling unused system services
- Using performance monitoring tools
- Adding passive cooling solutions
Display Resource Allocation
Balancing display resources is vital for visual quality 24/7. Considerations include:
- Setting optimal screen refresh rates
- Managing graphics memory
- Using intelligent content rendering
- Reducing visual effects
By using these strategies, you can make a reliable digital signage system. It will work well all day, every day.
Network Configuration and VPN Setup
Setting up a strong network is key for digital signage with Raspberry Pi and JioSphere Browser. It’s important for keeping remote displays connected and data safe.
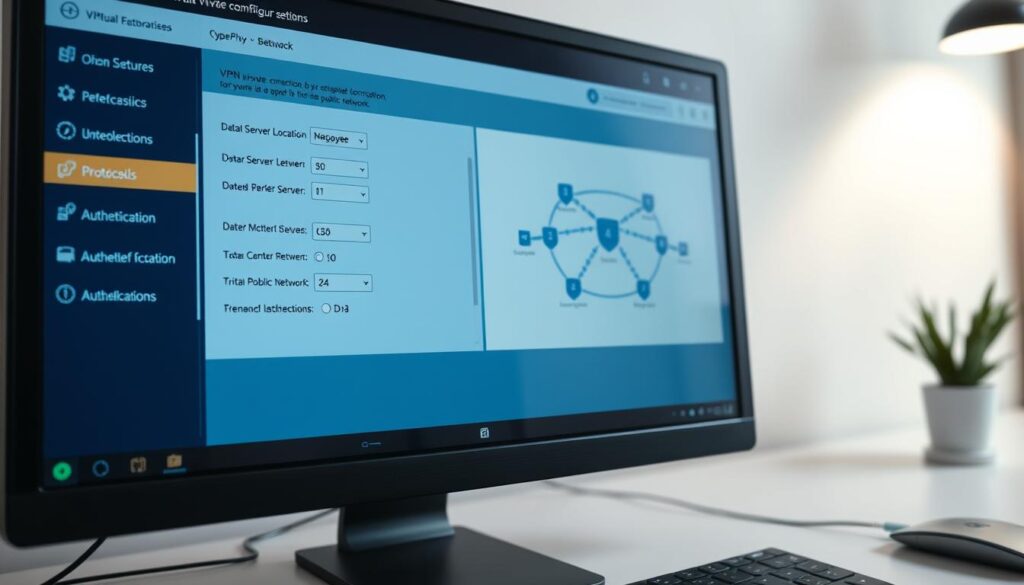
Let’s go over the main steps for a secure network with VPN. The JioSphere Browser has VPN built in. It helps keep your digital signage network safe and encrypted.
- Configure network security settings
- Set up VPN connection parameters
- Optimize remote access protocols
- Implement encryption standards
When setting up your VPN, focus on these important points:
| Network Parameter | Recommended Setting |
| Encryption Protocol | OpenVPN/WireGuard |
| Authentication Method | Two-Factor Authentication |
| Connection Type | Static IP Recommended |
For smooth remote access, plan your network security well. Use JioSphere’s VPN to make a safe path for managing content and monitoring systems.
With these network setup tips, you’ll have a solid and safe digital signage system. It will be secure and work well, without big security risks.
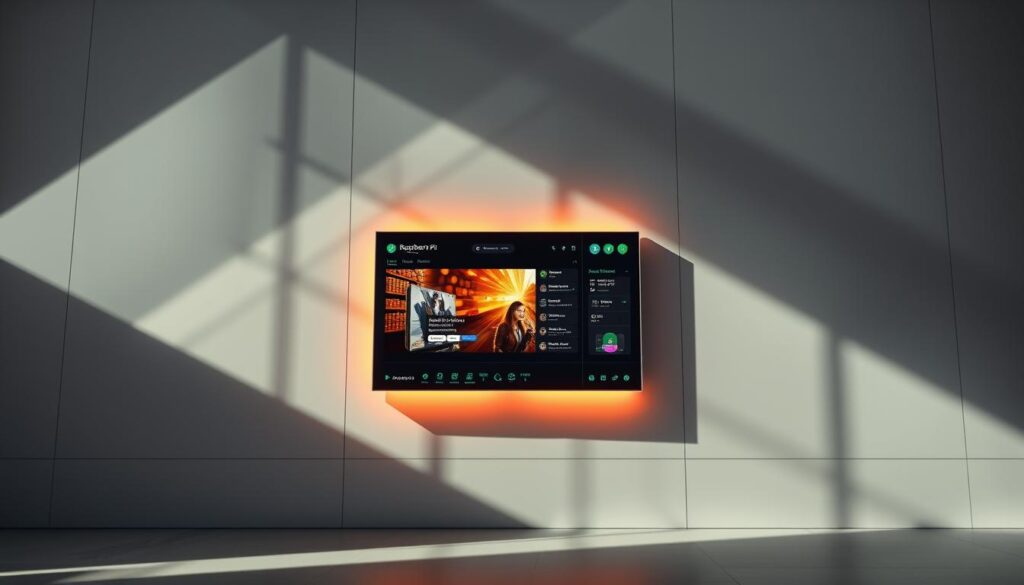
Implementing Content Scheduling
Digital signage success depends on smart content scheduling. JioSphere Browser turns your Raspberry Pi into a digital display powerhouse. It lets you schedule content to grab attention and share info at the right time.
Creating great digital signage playlists needs planning and smart timing. Let’s explore how to make your display stand out.
Schedule Creation Methods
Setting up content schedules is easy. Here are some methods:
- Time-based rotation schedules
- Event-triggered content switches
- Seasonal and seasonal display programming
- Audience demographic-based scheduling
Content Rotation Techniques
To keep your digital signage interesting, try these rotation strategies:
- Develop a diverse content mix
- Use randomized playlist generation
- Create time-sensitive content segments
- Implement priority-based display rules
Timing Optimization Strategies
Smart timing boosts viewer engagement. Here are some tips:
- Analyze peak viewing times
- Adjust content duration dynamically
- Implement smooth transition effects
- Use analytics to refine scheduling
Mastering these content scheduling methods will make your digital signage more engaging. It will keep your audience informed and entertained.
Monitoring and Maintenance Best Practices
Keeping your digital signage system in top shape needs a proactive plan. I’ll share key strategies to ensure your Raspberry Pi and JioSphere Browser work well.
Start by regularly checking your system’s health. It’s important to monitor several parts of your digital signage setup:
- Check CPU and memory usage regularly
- Monitor network connectivity and bandwidth
- Verify storage space and disk health
- Track system temperature and cooling performance
For easy system monitoring, use tools that give you real-time insights. Remote monitoring solutions can spot issues early, reducing downtime and keeping displays running smoothly.
Preventive maintenance is key for long-term reliability. Make a checklist for maintenance that includes:
- Weekly software updates
- Monthly hardware inspection
- Quarterly deep cleaning of hardware components
- Regular backup of critical configuration files
By focusing on system monitoring and preventive maintenance, you’ll extend your digital signage’s life and performance.
Troubleshooting Common Issues
Fixing digital signage problems can be tough, but it’s doable with the right steps. I’ll show you how to solve performance and connectivity issues with your Raspberry Pi-powered JioSphere Browser digital signage.
Managing digital signage means dealing with unexpected tech issues. Knowing common problems helps you fix them fast and keep your display looking professional.
Display Problems Solutions
Display issues can mess up your digital signage. Here’s how to fix them:
- Check HDMI cable connections for secure attachment
- Verify display resolution settings in Raspberry Pi configuration
- Restart the JioSphere Browser to reset display parameters
- Update graphics drivers to resolve image distortion
Performance Issue Fixes
Slow digital signage can be frustrating. Here’s how to speed it up:
- Monitor CPU and memory usage using system monitoring tools
- Clear browser cache regularly
- Close unnecessary background applications
- Optimize content file sizes for faster loading
Network Connectivity Troubleshooting
Good network connectivity is key for digital signage. Try these network fixes:
- Restart network router and Raspberry Pi
- Check ethernet or Wi-Fi connection settings
- Verify network cable integrity
- Configure static IP address if experiencing intermittent connections
Pro tip: Always keep a backup of your system configuration to quickly restore settings during troubleshooting.
Proactive maintenance and understanding these troubleshooting techniques will help you minimize disruptions and maintain a reliable digital signage system.
Security Considerations and Best Practices
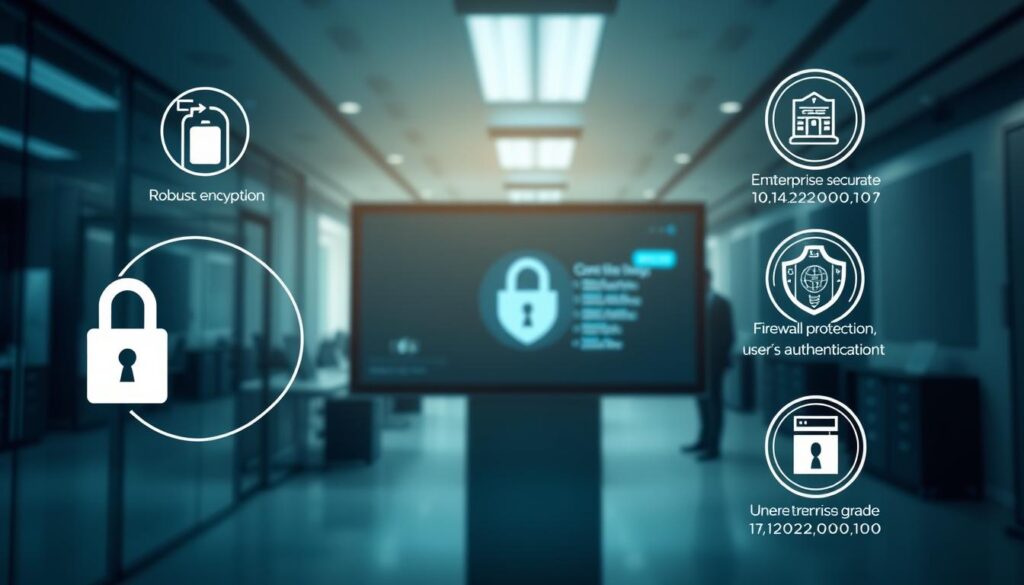
Keeping your digital signage safe needs a solid plan for network safety and data protection. I’ll show you important steps to protect your Raspberry Pi-based digital signage. This will help keep it safe from possible threats.
Good digital signage security starts with strong access controls. It’s key to stop unauthorized access to your system. Here are some ways to make your network safer:
- Create complex passwords with a minimum of 12 characters
- Enable two-factor authentication
- Restrict remote access permissions
- Use a dedicated firewall for additional protection
Keeping your software up-to-date is also vital for protecting your data.
I suggest:
- Regular system updates
- Installing security patches promptly
- Using reputable antivirus software
- Monitoring system logs for suspicious activities
Don’t forget about physical security. Keep your Raspberry Pi in a locked case and limit who can touch it. Remember, good security needs both digital and physical protection.
Security is not a one-time task but an ongoing commitment to protecting your digital signage infrastructure.
By following these digital signage security tips, you’ll build a strong defense against network threats. This will keep your content delivery system safe and reliable.
Remote Management Solutions
Digital signage needs efficient remote management for smooth operation. My method uses powerful tools and strategies. It lets you control your JioSphere Browser digital signage network easily.
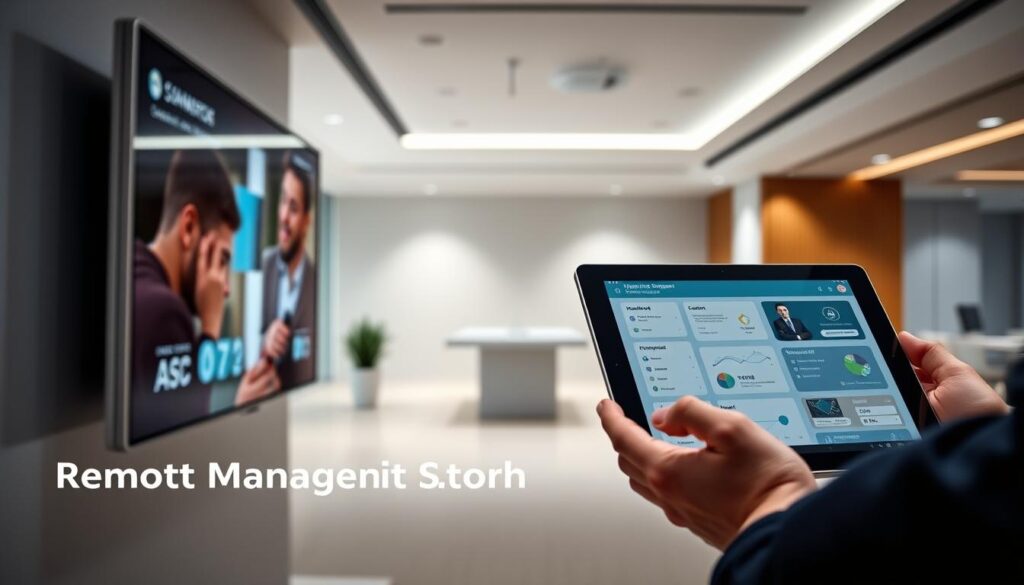
Strong remote management solutions keep your digital signage system running well with little hands-on effort. The right tools turn your Raspberry Pi setup into a responsive and flexible network.
Remote Access Configuration
Setting up secure remote access requires several key steps:
- Configure SSH for encrypted connections
- Establish Virtual Private Network (VPN) tunneling
- Implement two-factor authentication
- Use dynamic DNS services for consistent connectivity
Content Updates Management
Keeping your digital signage fresh and engaging is key. I suggest a simple content management workflow. It should support:
- Centralized content repository
- Scheduled content rotation
- Instant remote content push
- Version tracking and rollback capabilities
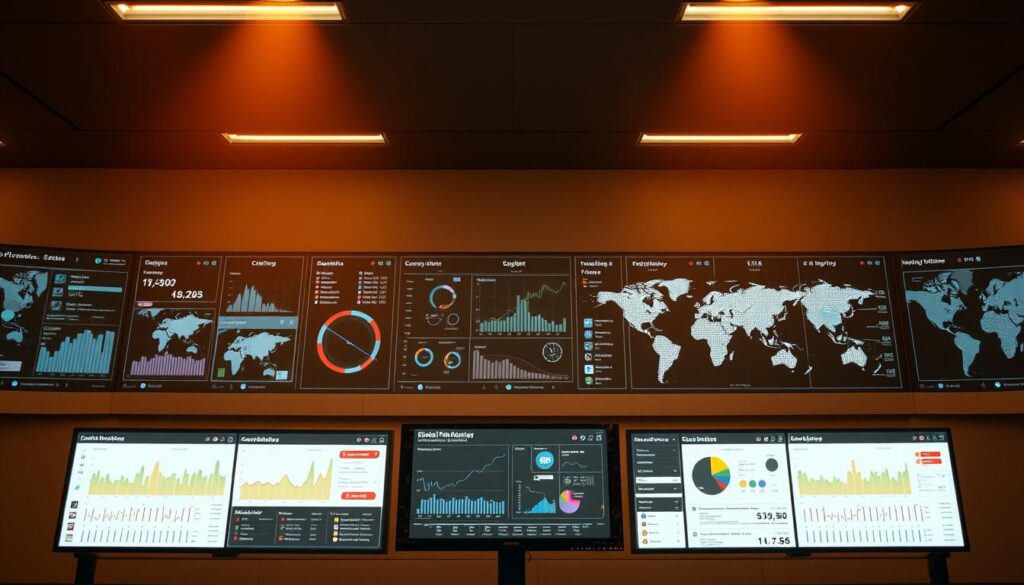
System Monitoring Tools
Good system monitoring keeps your digital signage network running smoothly. Here are some important tools to consider:
| Tool | Primary Function | Key Features |
| Nagios | Network Monitoring | Real-time alerts, performance tracking |
| Zabbix | Infrastructure Monitoring | Comprehensive system health checks |
| Grafana | Visualization Dashboard | Custom metrics, graphical reporting |
By using these remote management solutions, you’ll have a strong digital signage system. It will have less downtime and more effective content.
Conclusion
Setting up a Raspberry Pi digital signage with JioSphere Browser is a smart move. It turns a simple Raspberry Pi into a powerful tool for communication. This is great for both businesses and schools.
This low-cost solution is very flexible. It lets you create digital signs that are affordable and can be customized easily. With the right setup and care, it works well for many uses.
But, remember, setting up digital signs is more than just tech. You also need to think about content, keeping things running smoothly, and security. What you’ve learned will help you make strong digital signs that meet changing needs.
Don’t stop here. Keep trying new things with your Raspberry Pi digital signs. And keep exploring what JioSphere Browser can do. Your journey in digital communication is just starting.
FAQs
What is JioSphere Browser, and why is it suitable for digital signage?
JioSphere Browser is a web browser designed for digital signage. It displays content well, manages resources efficiently, and works on low-cost hardware like Raspberry Pi.
Which Raspberry Pi model works best for digital signage?
The Raspberry Pi 4 Model B is best for digital signage. It has a better processor, more RAM, and performs better than older models.
Can I run JioSphere Browser directly on Raspberry Pi?
Raspberry Pi uses Linux, so you need to emulate Android or find another way to run JioSphere Browser.
How much storage do I need for a digital signage setup?
You’ll need at least a 16GB microSD card. But, 32GB or 64GB gives you more space for content and system needs.
What internet connectivity options work best for digital signage?
Ethernet and Wi-Fi both work well. Ethernet is more stable for constant digital signage use.
How can I secure my digital signage system?
Use strong passwords, VPNs, keep it updated, set up firewalls, and protect the hardware physically.
Can I manage multiple digital signage displays remotely?
Yes, with remote access tools and content management, you can control and update many displays from one place.
What types of content can I display using this setup?
You can show static images, web pages, videos, dynamic web displays, and schedule content changes.
How do I handle cooling for continuous 24/7 operation?
Use cooling cases, heat sinks, or small fans to avoid overheating during non-stop digital signage use.
What are the typical power requirements for this setup?
A 5V/3A power supply is best for Raspberry Pi 4. It ensures stable power for constant digital signage use.